
My apartment in Amsterdam has a very old and extremely loud doorbell. I decided to make a new one, because I was tired of being startled every time someone rang the doorbell.
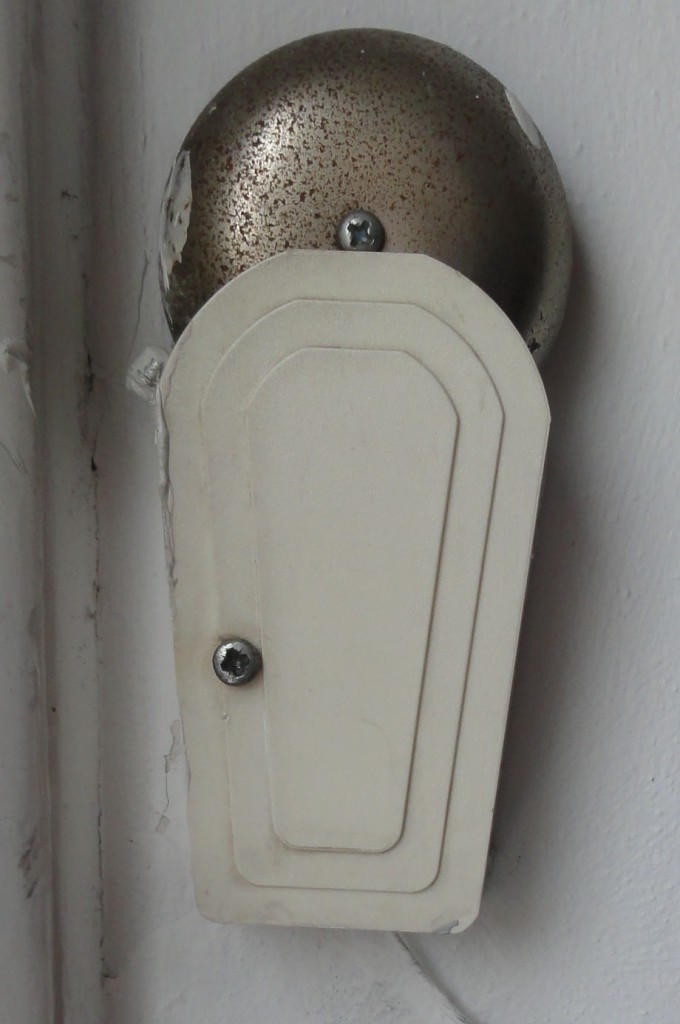
Old, loud, and annoying doorbell
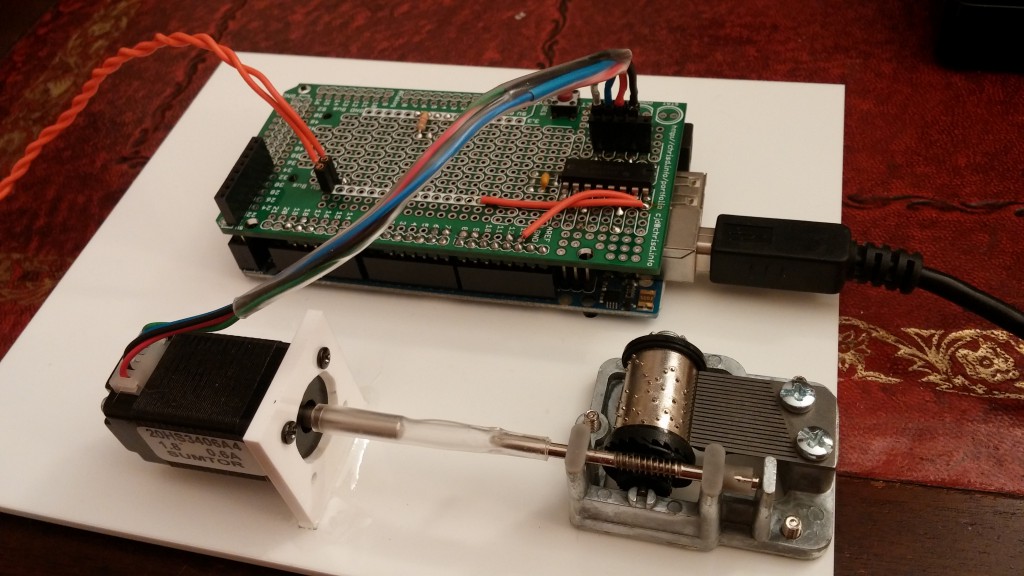
I had a music box sitting around, and an arduino mega, and I have a few prototype shields for the Mega that I designed a while back. I decided to use these things to come up with a working prototype.
Above is the new doorbell that doesn’t scare the cat.
Parts list
Here is the full list of parts required for this prototype:
- Arduino (Mega, just because it was sitting around)
- Arduino mega prototype shield, also just laying around
- 0.1inch headers male and female
- 10kOhm doorbell pull-down resistor
- 0.1uF ceramic capacitor
- sn754410 H-bridge or similar (other stepper motor drivers could also be made to work)
- NEMA-8 stepper motor (the smaller the better, almost no power is required)
- Plastic tubing to couple the motor to the music box
- 10kohm resistor for reset button (optional)
- push button for reset (optional)
- Something to mount it all on that will also act as a sounding board
- 5volt wall wart
The build
To start with I put the H-Bridge on the prototype board, and then connected the ground pins to the ground bars on the prototype board. I then connected the H-Bridge input pins and enable pins to digital pins on the Arduino. The power pins are connected to Vin, and finally the H-Bridge output pins are connected to a 4 pin female header that the stepper motor plugs into.
The next bit is to wire up the doorbell, I used a 10kOhm pull down resistor on the input side of the button, and a 0.1uF ceramic capacitor to debounce the button. Just connect one wire of the button to the resistor/capacitor/arduino digital input, and the other wire to 5v. Then when the button is pressed the digital input will go from low to high. I also used a digital input that is capable of triggering an interrupt so I don’t have to constantly read the state of the input.
With all of the electronics taken care of, I needed something to amplify the sound, and also serve as a mount for everything, I decided to use Formulor to have a small piece of laser cut plastic made with mounting holes for the music box and arduino. I used inkscape to design the plastic, and sent it off. Then about 2 weeks later I had the plastic in hand. I also had them laser cut a motor mount, and a small slot to slide the motor mount into. I just used some epoxy to secure the motor mount in place and some clear plastic tubing to couple the motor to the music box. All of this can be seen in the photo below.
Testing out the doorbell
Once it was all working I unplugged the old doorbell, and connected the new doorbell.
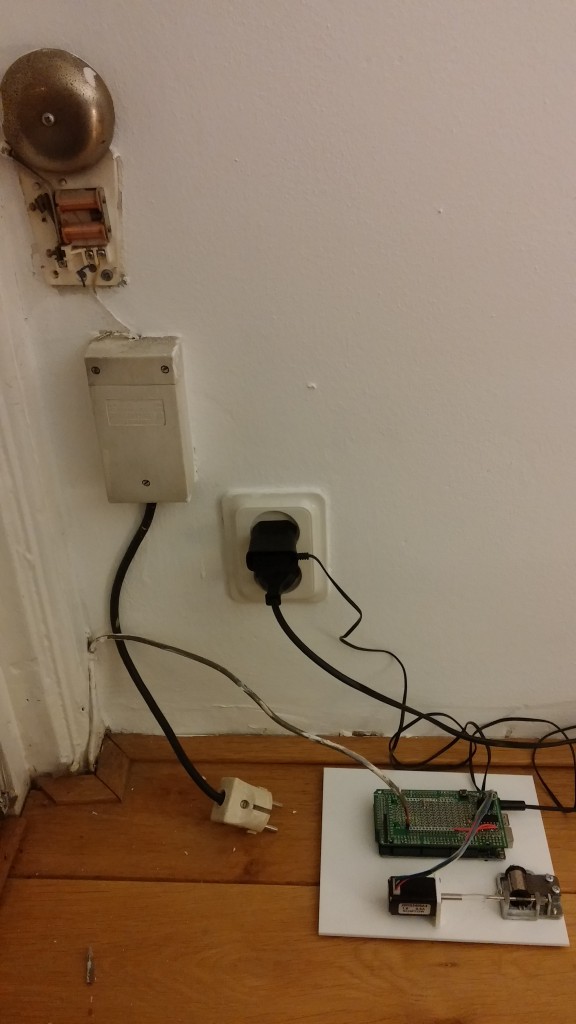
The prototype doorbell installed
Next steps
I think in the coming weeks I will have a custom PCB built that works with an Arduino micro. I have already designed the PCB, I just need to have it built. Then I will just replace the Mega, with a Micro and everything will be much more tidy.
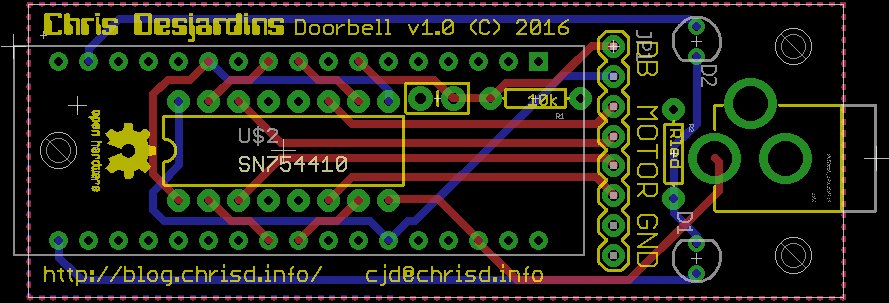
The custom PCB to run the doorbell with Arduino Micro
All of the source code can be found on github.
Update 3/23/2016
The boards are in, I ordered 20 PCBs, and I got 21 in the mail. I fully assembled one, added some code to make the LEDs blink when the doorbell rings, and then I replaced the prototype setup I originally installed. I just used some foamy double sided tape to stick the PCB to the plastic base. Below are pictures of how the setup looks now, and the PCBs.
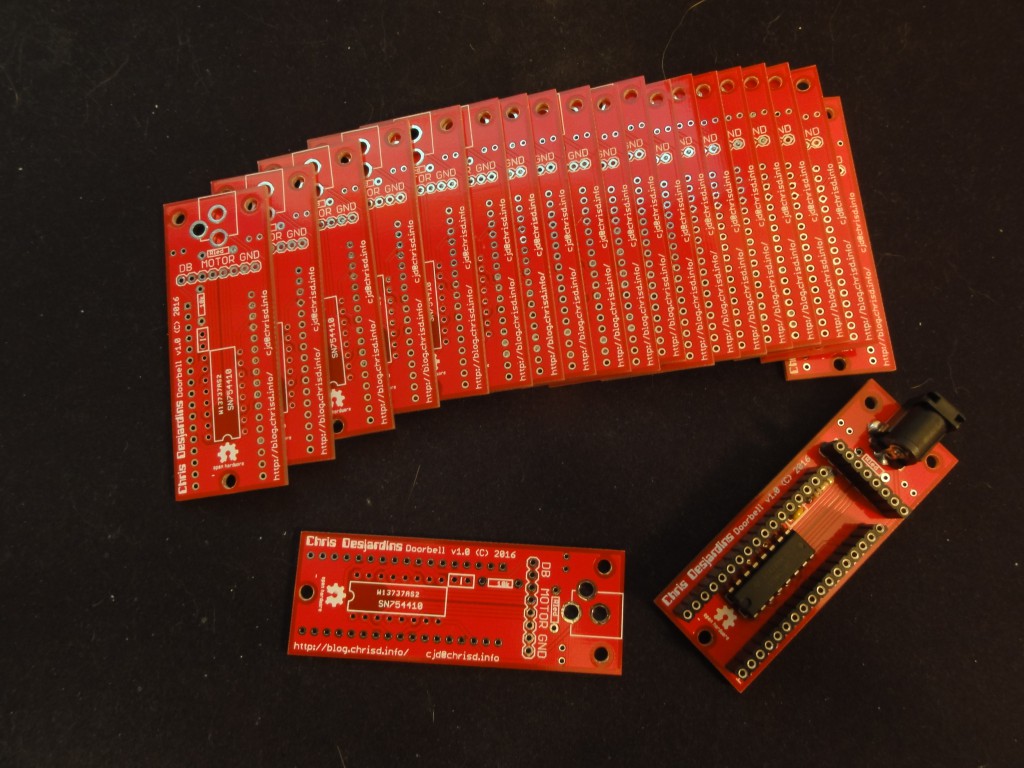
The doorbell PCBs, with one assembled.

The final doorbell project
Update 1/22/2017
I replaced the plastic base with mahogany, and I put the motor in a small housing stuffed with cotton to dampen the sound of the motor and turned a small cone in a feeble attempt to amplify the music box further.
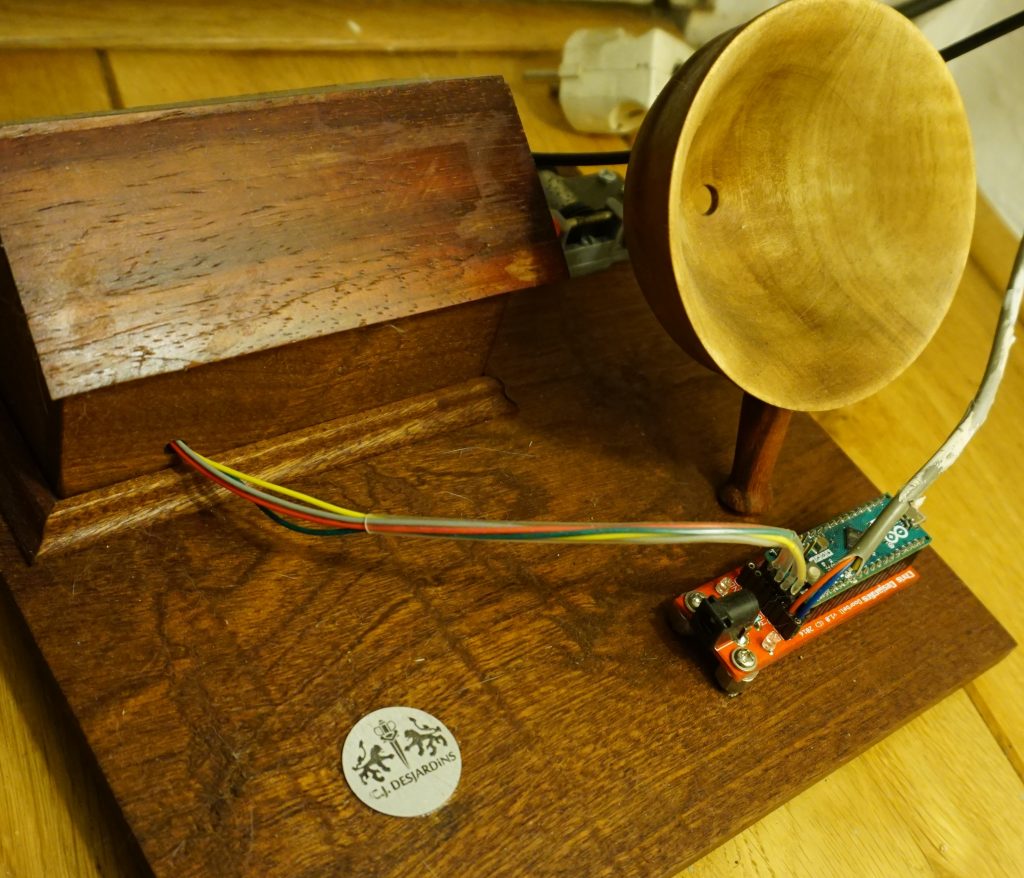
The final, final doorbell project.
Leave a Reply